
The purpose of this article is to show you how you can use SSIS for doing a classic task – for example, importing a Flat File into a SQL Server work table. This article is a step by step guide and the first one in a series.
For this article we are going to use the fictitious DB called TSQLRaceDB, the first part consists of a simple process to import directly into the User table.
CREATE DATABASE TSQLRACE;
GO

CREATE SCHEMA Admin;
GO

CREATE TABLE Admin.Account
(
AccountID INT IDENTITY
NOT NULL
PRIMARY KEY ,
Description NVARCHAR(40) NULL ,
RegUserId INT NOT NULL ,
RegDate DATETIME2(2) NOT NULL
);
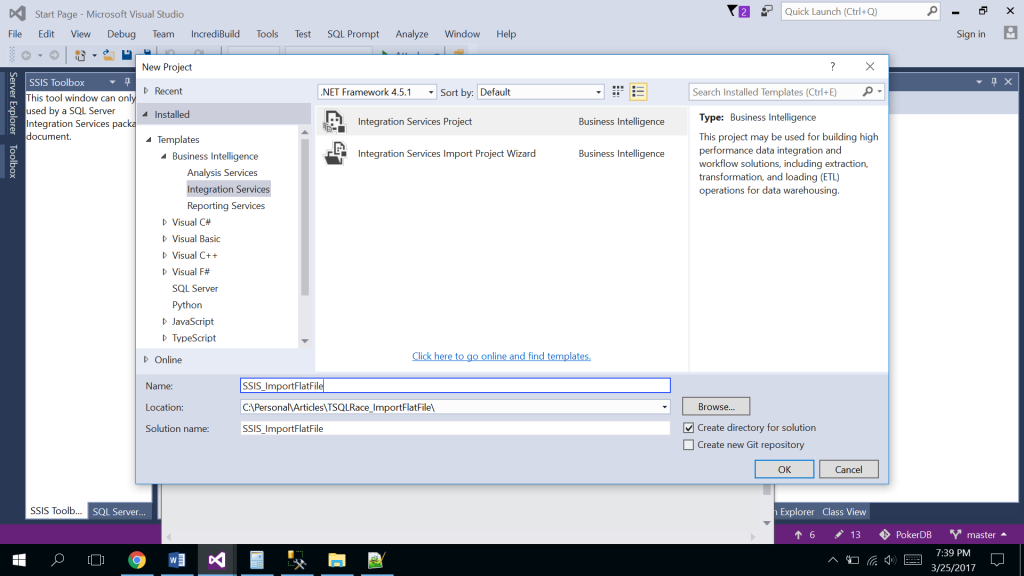
We start with the creation of a new project in SSIS, we open Visual Studio and choose the SSIS Project.
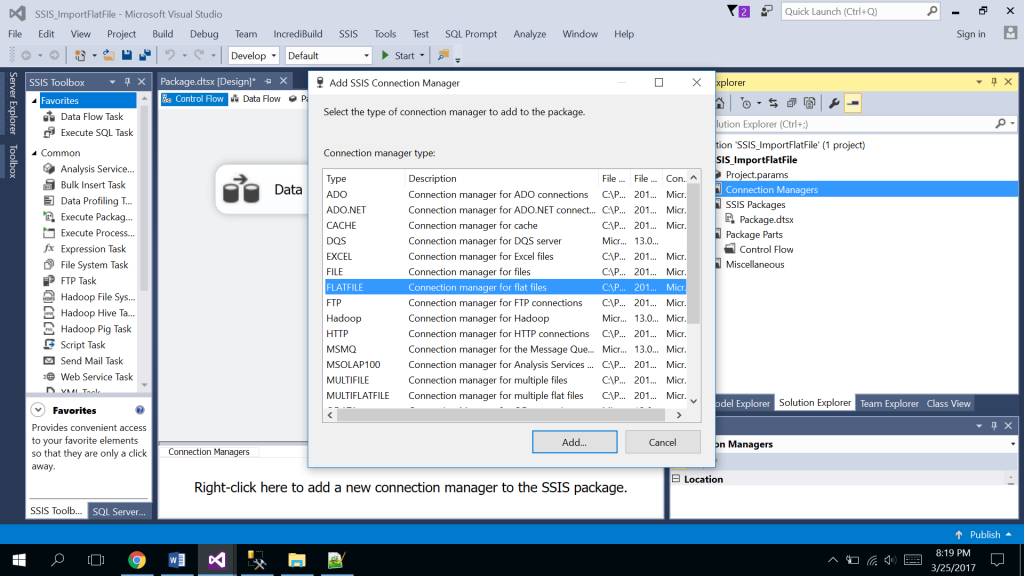
The first thing I always do in an SSIS project is to define the Connections, you should right click on Connection Managers and then on New Connection Manager.

We will immediately see a group of Connections sources, in this case, we choose the Flat file type.
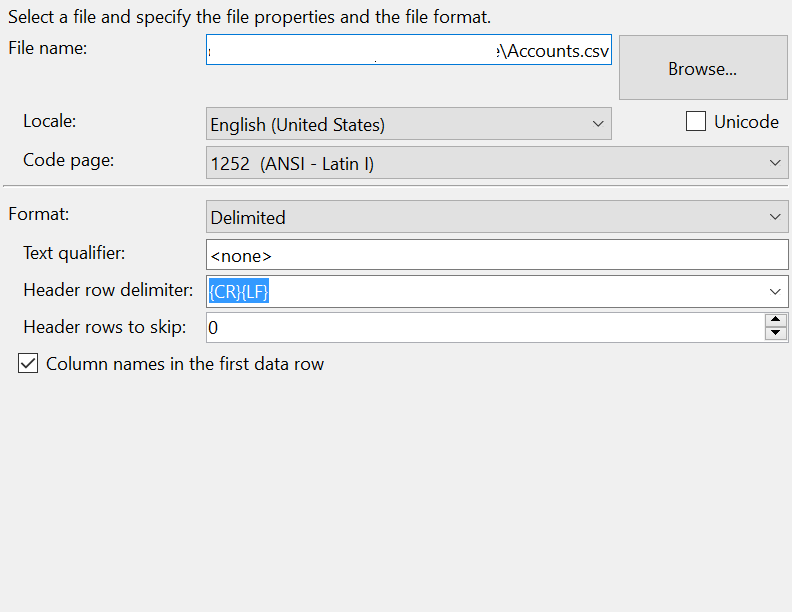
I then fill the Connection manager name and a brief description about it, later you should click the Browse button, in this first part I am going to localize the CSV, however, in the next part of this article I would like to teach you how to dynamically set up this property, meanwhile, we are going to use a hardcoded file path.
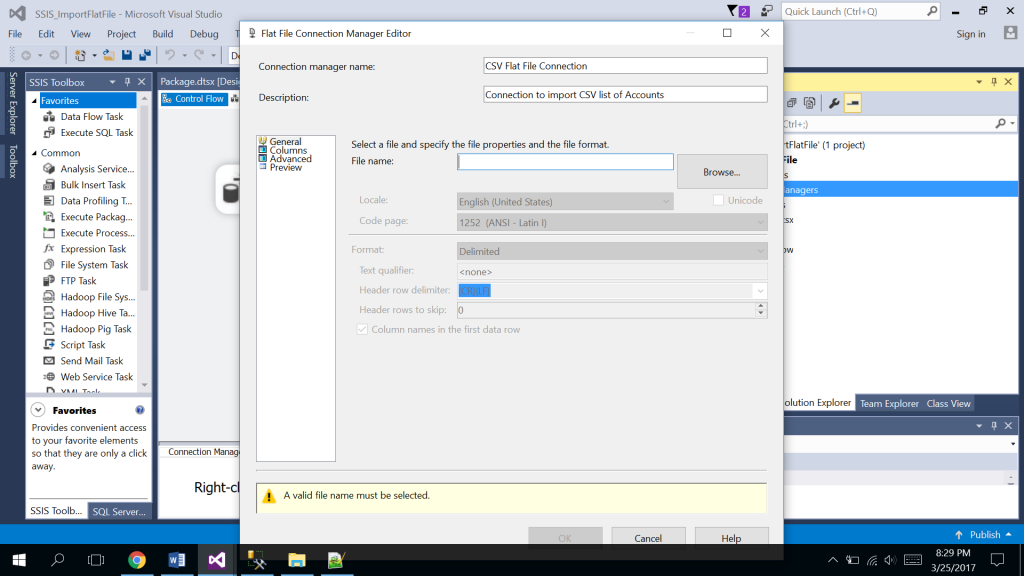
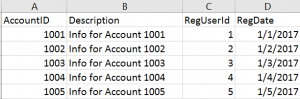
We can see that we are using a simple CSV file called Accounts.csv, it has a small number of rows, I realized from my experience that in general, for a small file, for instance, less than 100 MB, this proposed design is very effective and faster than other options.
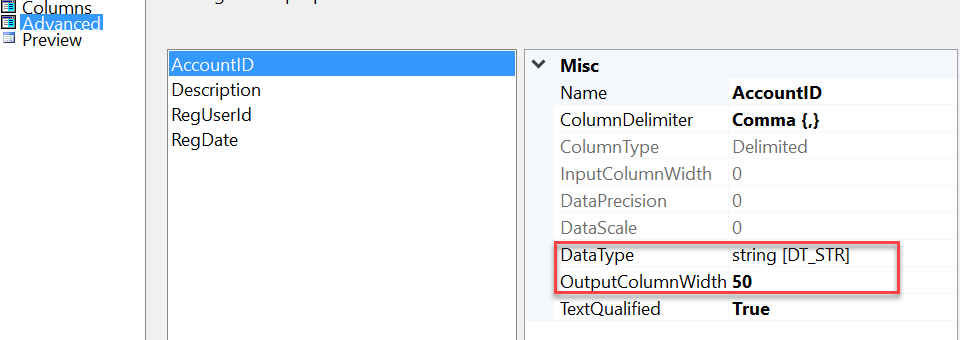
The next step is to configure the columns and the data type captured from a file, in this stage you should adjust the data type according to the target table, it’s not mandatory because you can add a specific step to do it through a DataConversion task. There is a useful option in which SSIS will automatically define the data type based on the values that are in the column. However, if incorrect, it can be manually modified in this section.
When you click in the Preview tab then you can observe a preview of the file contents.

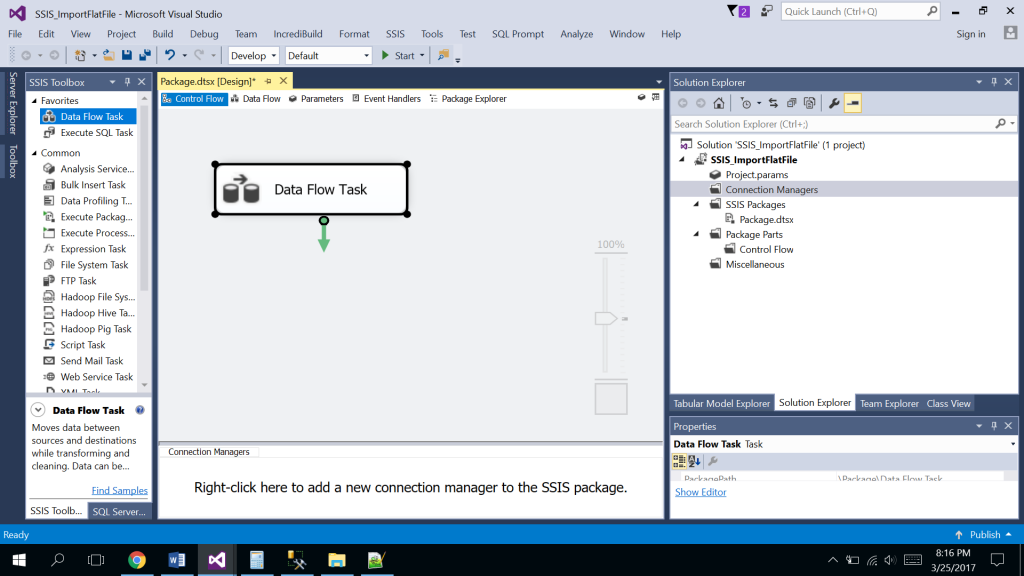
One time that we have created the Flat File connection the next step is to choose the Data Flow task from the Toolbox.
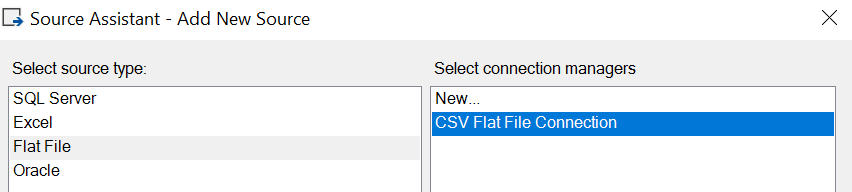
On the next window, we double click and we are in Data Flow section, here we can take a source assistant connection and choose the Flat File type because this is the only connection configured in the project.
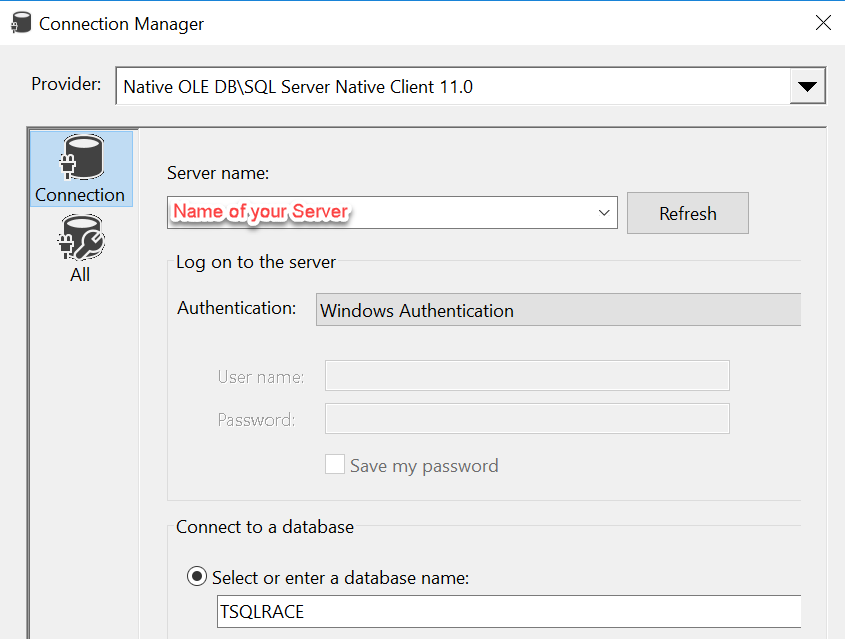
At this point, we have a valid source and the first step has finished, but we need to move the information toward a final table, to do this we will need to configure the target connection, then we click the Connection Managers section and we should choose an OLEDB Connection to the SQL Server instance and point out to the target DB.
![]()
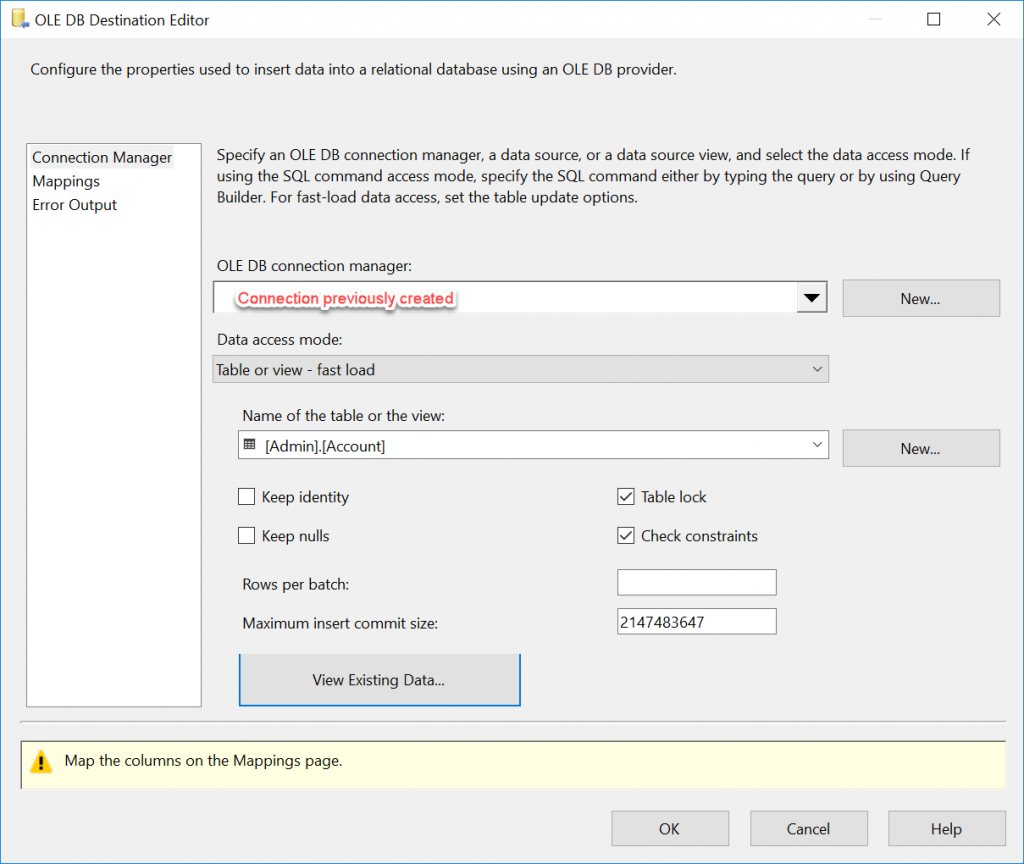
After testing the connection, we can return to the Data Flow and drag and drop the Destination Assistant. In this case, we should choose SQL Server and the connection which has recently been built. We should right click and set up the target table available for the OLEDB connection.
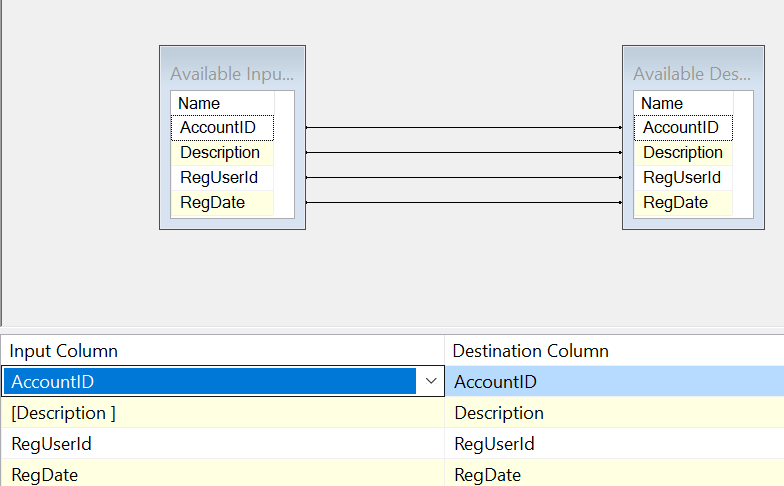
In the tab Mapping, we are going to map the columns from Source to Target, it’s a simple process where we associate each column.
For testing the result, we only need to click the Start button and we can observe the workflow and each of the components with a green ticker and the number of rows processed.

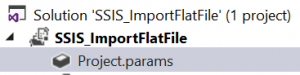
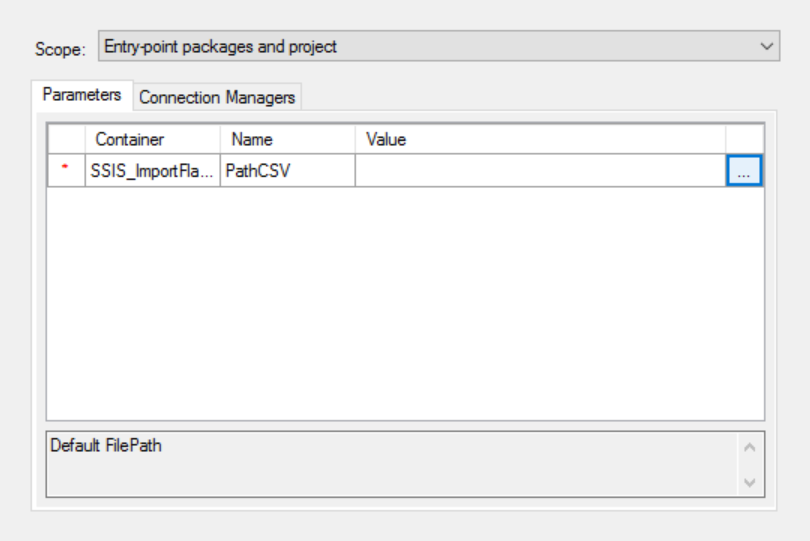
After this, we have reached our goal but…. there is something missing because the path of the CSV file is pointing out to my computer and this is not a realistic scenario, what do we do? We should create this path file in a configurable way independent of the Environment – for example, Development, UAT and Production. I am going to apply the approach which consists in the use of a Project Parameter. We have to double click on Projec.params.
We then click on the icon ![]() to add a new parameter and write the path of the CSV file.
to add a new parameter and write the path of the CSV file.

The next step is to parameterize the path into CSV Flat File Connection, we choose the connection and right-click and next, the Parameterize option.

We should associate the property ConnectionString with the newly defined project parameter.

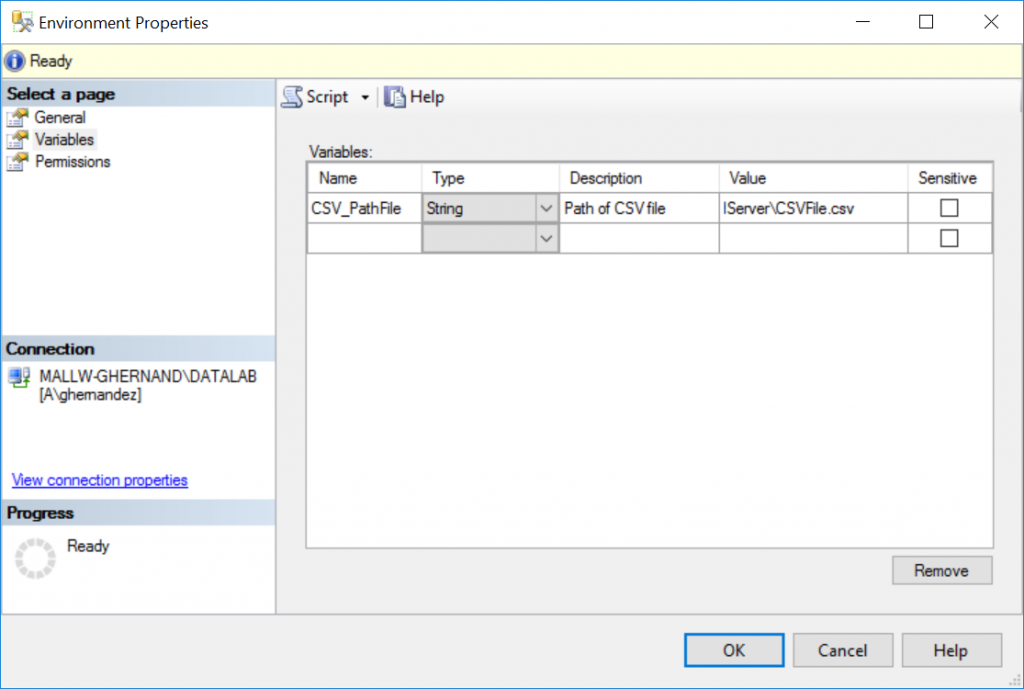
What is the next step? One time that we have defined the Path of CSV file we will be able to associate it to the Environment Variables in the SSIS Server instance, how to deploy an SSIS package is out the scope of this article, however, at the end of this article, I am posting some links related with this topic.
Following our example:
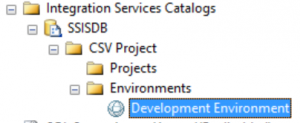
I right-click and define a new variable
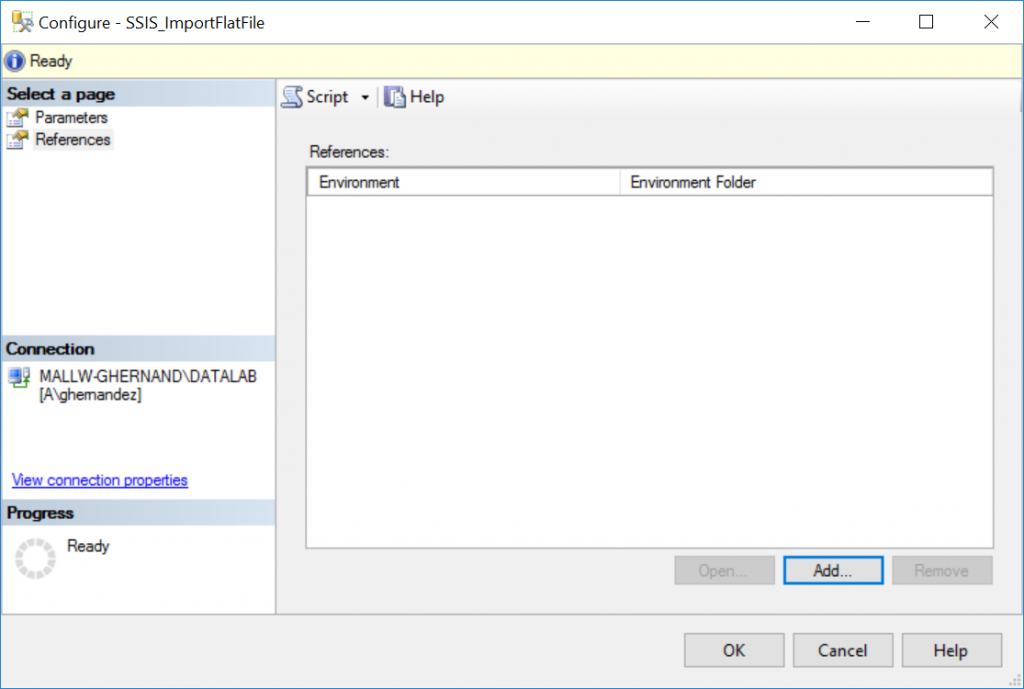
Later we have to link the Project Parameter and path file CSV variable, the next step is to right-click on Projects and Configure.
Immediately we can see the next window where we have to link Project.parameter and Variable, but first we have to click on the References page and the Add button.

Later, we click on the Parameters page and choose the Value for the variable which was previously defined.
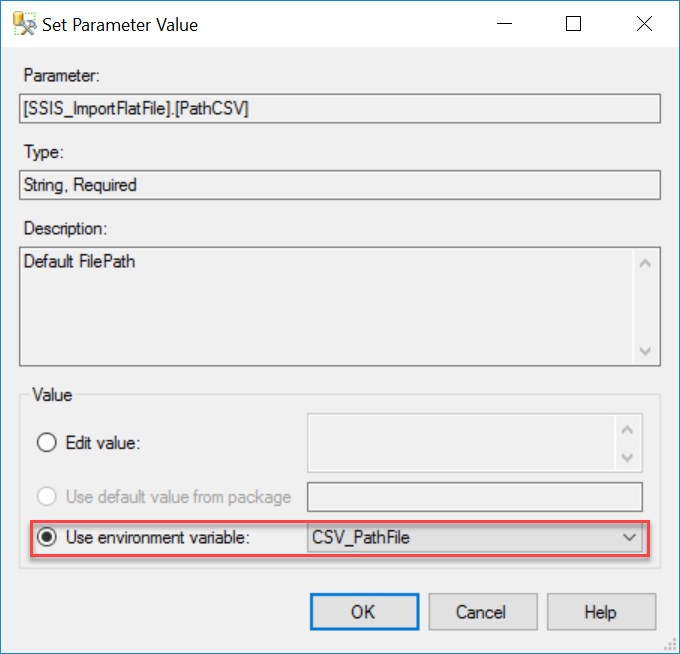
Once that we have configured this option we will be able to run the package and it is going to take the path defined in the environment variable.
Conclusion
I hope you will find this article useful and it will become a good starting point for developing more complex solutions which involve the process of working with flat files in SSIS.
References
For more information, refer to these links: